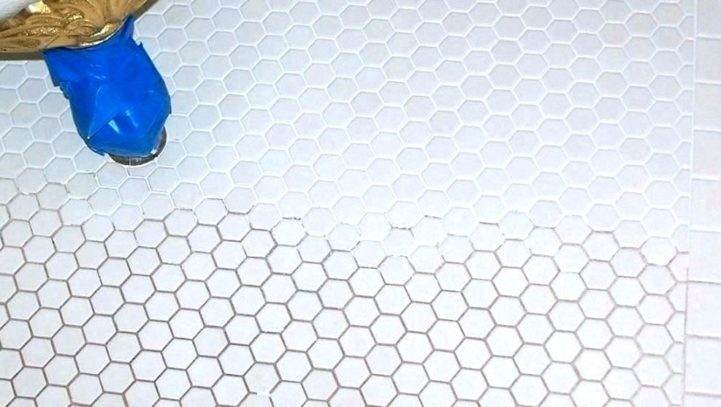
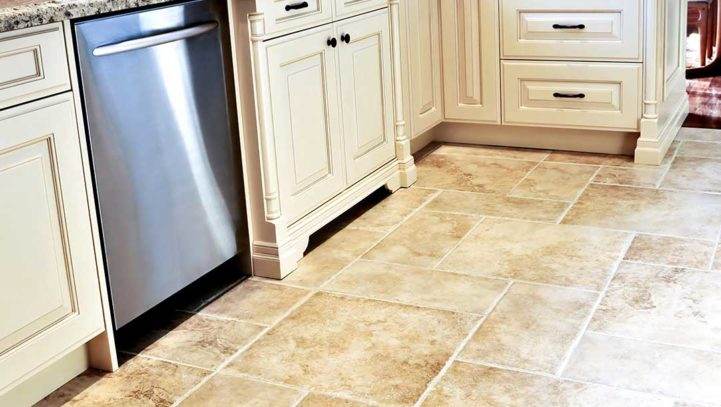
Often it’s not the tile that makes your shower or floors look worn and dirty, but the grouting around it that needs to be either professionally cleaned or regrouted. Regrouting is a cost-effective method to improve the life span and attractiveness of your tiling. As long as the tiles are in good condition (not chipped or cracked) then regrouting will make the installation look almost brand-new!
Regrouting requires the correct tools and materials, and can take anywhere from 2-6 hours depending on the size of the space. The larger the area, or the smaller the tiles, the more grout is required. With grouting, you have several options including colour and sealant type. Generally, it is a two-step process that first begins with the removal of the old grout. This aged grout will be hard and will require the proper tools, scraping, and force to be removed.
What sort of tools are required for grout removal? An oscillating tool has a blade that rotates quickly and when held close to the edges of the tile, slightly touch the old grout and allow it to crumble away. Do not force the grinding – difficult areas can be manually chipped away with a flat head screwdriver or a utility blade. Once all the grout has been removed, it’s time to vacuum the dust and debris away.
Now with the dust gone, you will be able to wipe off the tiles and start the new grout application. Grout is available in both dry powder and premixed semi-liquid paste that come in tubs of different sizes. For dry grout, mix a little water (half the recommended amount) in a plastic bucket with about half of the powder. Once mixed, add the remaining water and powder a little at a time, stirring as you go until all the water and powder has been added. Then, take your grout paste and begin applying it using a triangular trowel. For premixed grout, you can skip to the application right away in most cases.
Once the grout is applied, use a rubber float at a 60-degree angle to spread and even the grout until the seams are fully sealed. Then, remove the excess grout, wipe, and complete the job by sealing the grout lines according to the manufacturer’s recommendations.